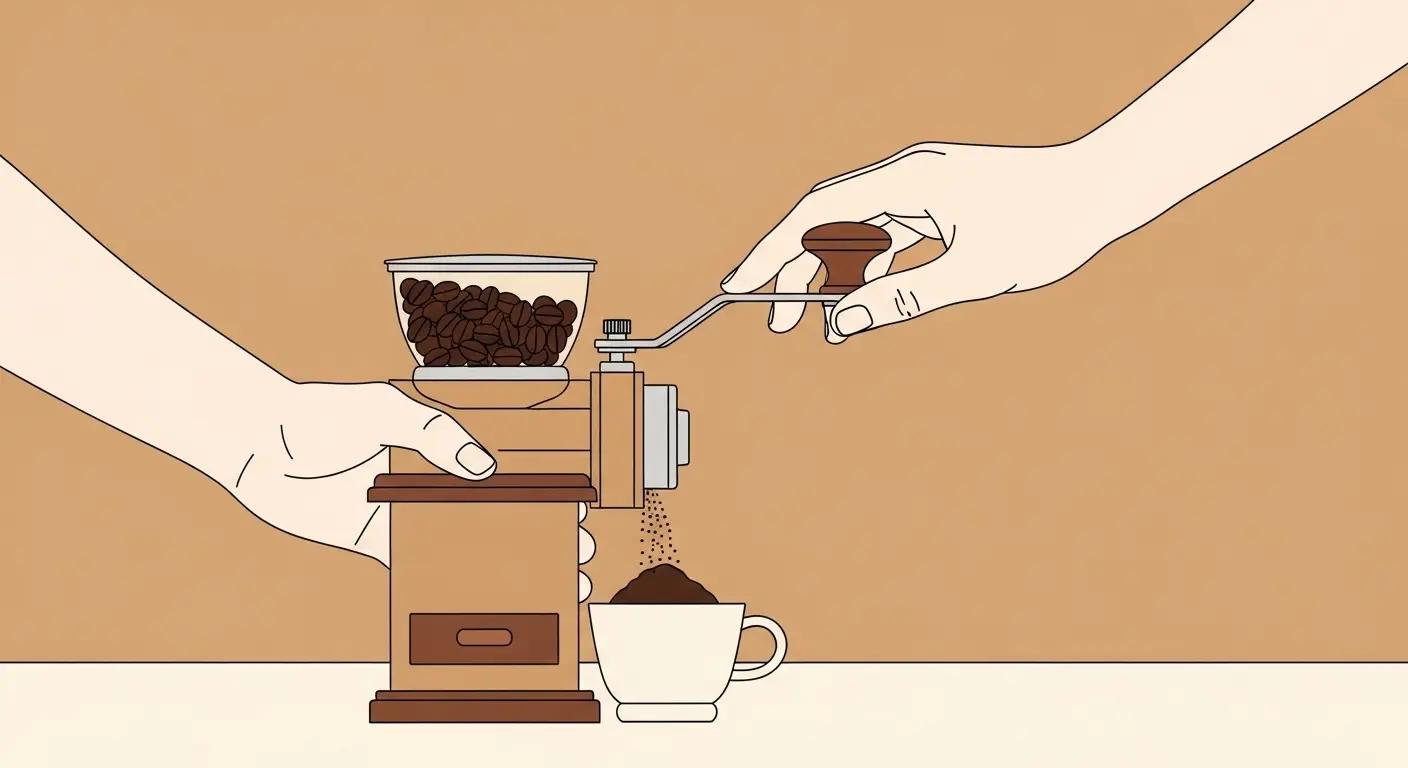
Achieving the perfect cup from a Moka pot is a balancing act that often leaves home brewers frustrated.
One morning the coffee is rich and velvety; the next, it is a bitter, metallic mess that tastes like it was brewed in a volcano.
Most of these inconsistencies stem from a single variable: the grind size.
While the Moka pot is often marketed as a "stovetop espresso maker," using standard espresso grounds is the most common mistake beginners make.
The Moka pot operates on a unique middle ground of pressure—higher than a standard drip machine but significantly lower than a commercial espresso engine.
Because of this, the coffee grounds must be calibrated to offer just enough resistance to build pressure without clogging the system.
This guide breaks down the exact specifications needed to master your Moka pot, ensuring a consistent, cafe-quality brew every time you set it on the stove.

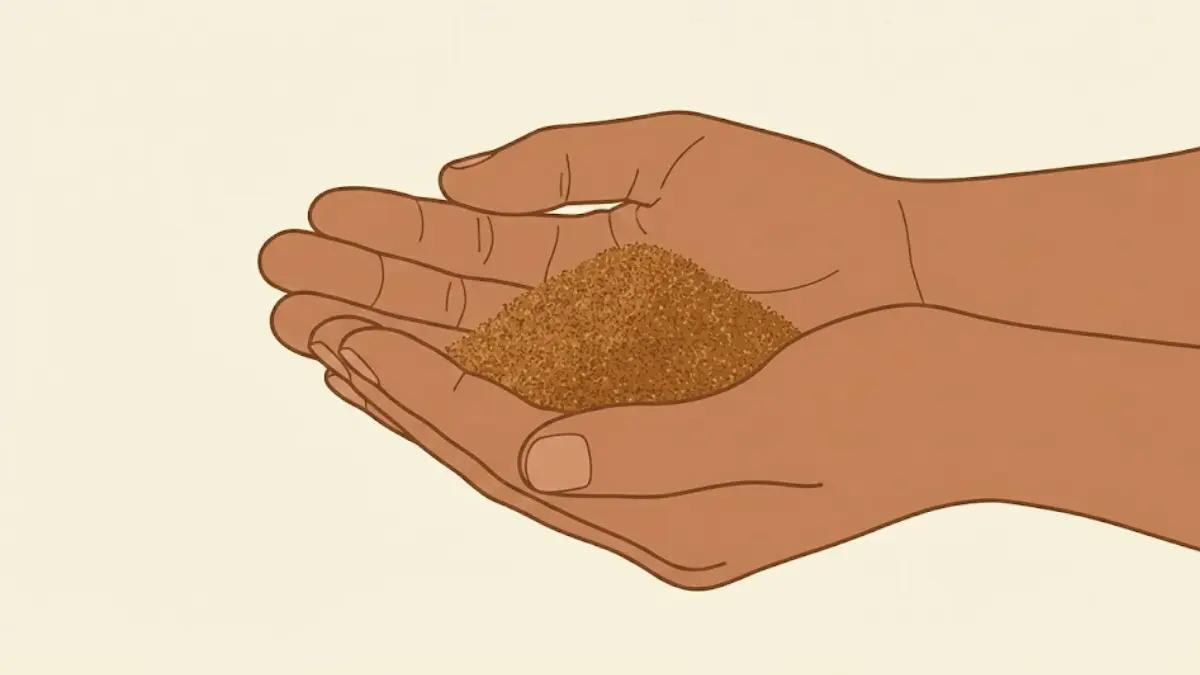
A close-up illustration of medium-fine coffee grounds with a texture similar to table salt for Moka pot brewing.
Quick Comparison: Grind Sizes by Brew Method
Understanding where the Moka pot sits in the coffee spectrum is essential for dialing in your grinder.
The following table compares the Moka pot's requirements against other popular brewing methods to help you visualize the necessary texture.
| Brew Method | Ideal Texture | Micron Range (Approx.) | Resistance Level |
|---|---|---|---|
| Espresso | Fine Powder (Flour) | 180–350 µm | Very High |
| Moka Pot | Medium-Fine (Table Salt) | 360–660 µm | Moderate |
| AeroPress | Fine to Medium | 400–800 µm | Variable |
| Pour Over | Medium (Kosher Salt) | 700–900 µm | Low |
| French Press | Coarse (Sea Salt) | 1000+ µm | Very Low |
Things You’ll Need: The Essentials for Precision
To achieve a consistent Moka pot brew, you cannot rely on pre-ground coffee labeled "espresso."
These are almost always too fine, leading to over-extraction and bitterness. Instead, you should prioritize tools that allow for manual adjustment and precision.
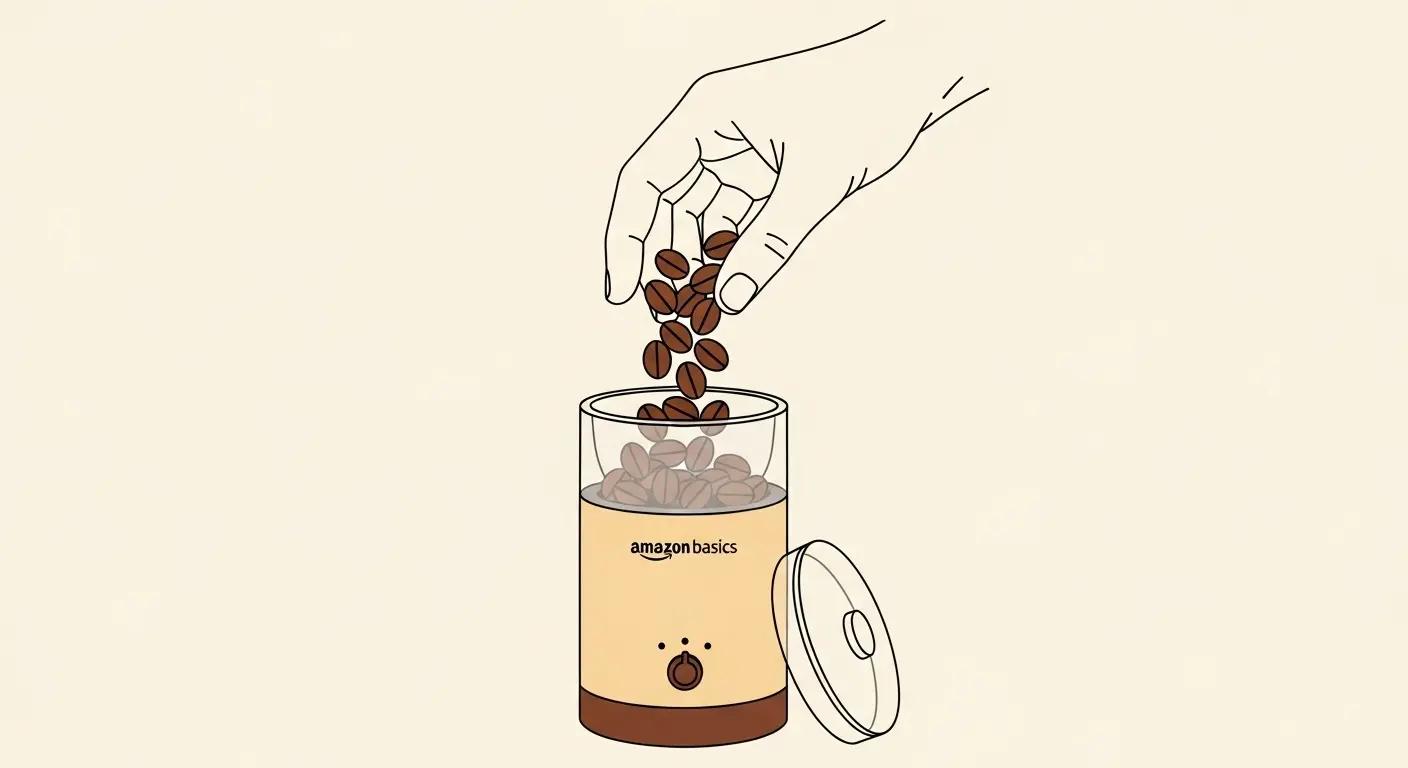
- A Quality Burr Grinder: Blade grinders shatter beans into inconsistent shards, creating "fines" that clog the filter and "boulders" that remain under-extracted. A burr grinder ensures a uniform particle size, which is the foundation of a balanced cup.
- Fresh Whole Bean Coffee: Coffee begins to lose its aromatic compounds within minutes of being ground. For the Moka pot's intense brewing environment, using beans roasted within the last two to four weeks is ideal.
- A Digital Scale: Volumetric measuring (using a spoon) is notoriously inaccurate. Measuring your coffee in grams ensures that you aren't overstuffing the basket, which can restrict water flow regardless of your grind size.
- Filtered Water: Since coffee is 98% water, using filtered water prevents scale buildup in your pot and ensures the subtle notes of your beans aren't masked by chlorine or minerals.
Step-by-Step Guide to Perfecting Your Moka Pot Grind
Mastering the Moka pot requires a hands-on approach to testing and refining.
Follow these steps to find the "sweet spot" for your specific equipment and coffee beans.
1. Calibrate Your Grinder to Medium-Fine
Start by setting your grinder to a medium-fine setting.
If you are using a popular manual grinder like the Comandante, this is typically around 12–15 clicks; for an electric Baratza Encore, try starting around setting 10–12.
The goal is a texture that feels gritty like table salt but is fine enough to clump slightly when pressed between your fingers. If the grounds feel like soft flour, they are too fine.
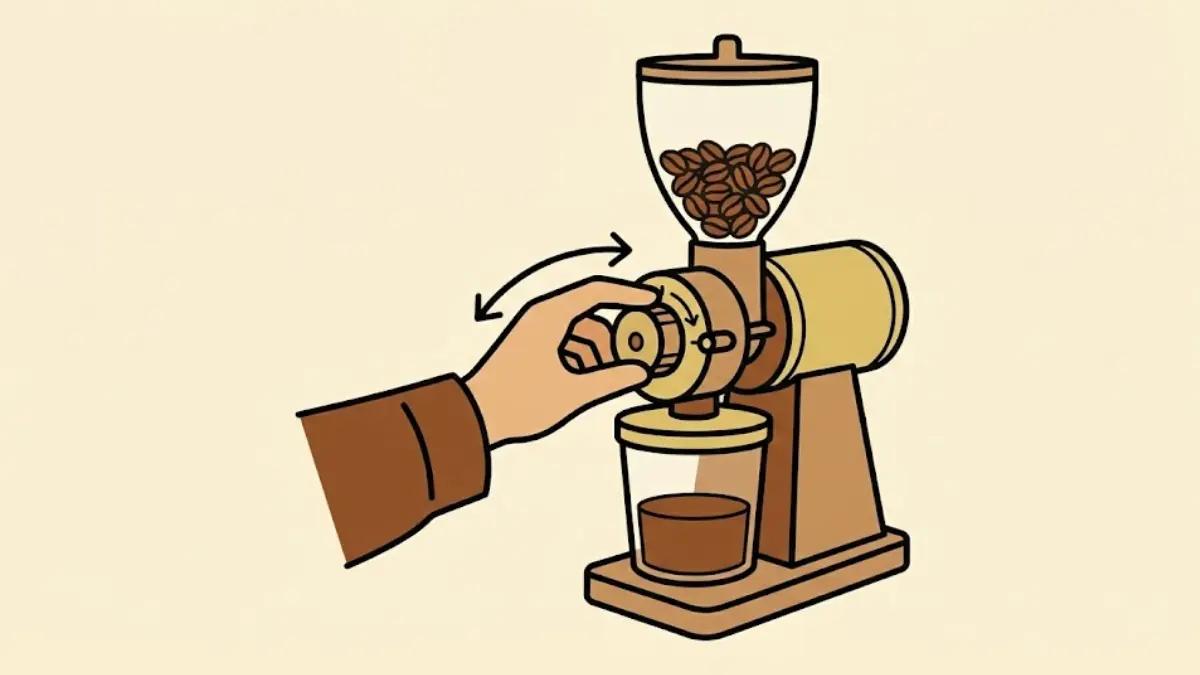
An illustration showing a hand adjusting the setting on a coffee grinder to achieve a medium-fine grind.
2. Fill the Filter Basket Loosely
Place your filter basket on the scale and tare it. Add your medium-fine grounds until the basket is full, but do not press them down.
One of the most critical rules of Moka pot brewing is to **never tamp the coffee**. Unlike an espresso machine, the Moka pot does not have the mechanical force to push water through a compressed puck.
Tamping will cause the pressure to spike, forcing water through the safety valve instead of the coffee.

An illustration of leveling coffee grounds in a Moka pot basket without tamping or pressing down.
3. Monitor the Extraction Flow
Assemble the pot with pre-heated water in the bottom chamber and place it on medium-low heat.
Watch the coffee as it begins to emerge from the center column.
A perfect grind will produce a steady, honey-like stream that flows smoothly.
If the coffee sputters violently or takes several minutes to appear, your grind is likely too fine.
If it gushes out quickly and looks watery, your grind is too coarse.
An illustration of a Moka pot brewing with a smooth, steady stream of coffee indicating a correct grind size.
4. Taste and Adjust for the Next Brew
The final test is always the palate.
If the coffee tastes exceptionally bitter, ashy, or "burnt," move your grinder one or two notches coarser for the next batch.
If the coffee tastes sour, thin, or salty, move the grinder finer. Small adjustments make a significant difference in the Moka pot's high-heat environment.
Bialetti Moka Express Review: Is It Worth It for Beginners?
Pros & Cons of Moka Pot Brewing
The Moka pot is a beloved tool, but it requires a specific mindset to master.
Understanding its trade-offs will help you decide if it’s the right daily driver for your kitchen.
Pros:
- Intensity: Produces a concentrated, heavy-bodied coffee that stands up well to milk and sugar.
- Durability: Most Moka pots, like the classic Bialetti Moka Express, are made of aluminum or stainless steel and can last for decades with basic maintenance.
- Portability: It requires no electricity, making it an excellent option for camping or travel.
- Affordability: It provides a "near-espresso" experience at a fraction of the cost of a pump-driven machine.
Cons:
- Finiteness: It is very easy to burn the coffee if the heat is too high or the grind is too fine.
- Cleanup: You must wait for the pot to cool down before disassembly, and it requires thorough drying to prevent oxidation.
- Inconsistency: Without a good grinder and a scale, it can be difficult to replicate the same cup twice.
Buying Guide: Choosing the Right Grinder for Moka Pot
If you are serious about Moka pot coffee, your grinder is more important than the pot itself.
When shopping for a grinder, look for these three specific features:
- Stepped vs. Stepless Adjustment: For Moka pot brewing, a "stepped" grinder is often easier for beginners because it allows you to remember specific "clicks" or numbers. However, "stepless" grinders offer infinite adjustments, which is better for "dialing in" a specific bean to perfection.
- Burr Material: Stainless steel burrs are generally preferred for their sharpness and ability to produce fewer "fines" compared to ceramic burrs. This is crucial for the Moka pot, as excessive fines will lead to a muddy, bitter cup.
- Grind Range: Ensure the grinder is capable of reaching the fine end of the spectrum. Some entry-level grinders are designed only for drip or French press and cannot grind fine enough for a Moka pot.
For those looking for a reliable internal link to further coffee education, understanding how to clean a Moka pot is the next step in maintaining flavor clarity.
Additionally, exploring the best coffee beans for Moka pot can help you match your grind size with the right roast profile.
For a deeper dive into the mechanics, the science behind the Moka pot's operation, particularly its low-pressure system, has been the subject of academic study.
FAQs
Can I use pre-ground espresso coffee in a Moka pot? While you can, it is generally not recommended. Most pre-ground espresso is intended for 9-bar pump machines and is ground to a flour-like consistency.
In a Moka pot, this often leads to a clogged filter, a bitter taste, and a messy cleanup. If you must use pre-ground, look for "Moka" specific grinds often found in Italian brands like Lavazza or Illy.
**Why does my Moka pot coffee always taste bitter?**
Bitterness is usually a sign of over-extraction.
This happens if your grind is too fine, if you are using boiling water and leaving it on the heat too long, or if you are tamping the grounds.
Try a coarser grind and remove the pot from the heat as soon as the coffee starts to turn light in color (the "blonde" phase).
**Is the grind size different for stainless steel vs. aluminum Moka pots?**
The material of the pot doesn't significantly change the required grind size, but it does change how the pot handles heat.
Stainless steel pots tend to heat up more slowly and retain heat longer.
You may find you need a slightly coarser grind in a stainless steel pot to compensate for the longer contact time with heat.
**How many microns should a Moka pot grind be?**
Ideally, you are looking for a range between 360 and 660 microns.
For most users, the "sweet spot" is around 600 microns, which provides enough surface area for extraction without creating too much back-pressure.
Final Verdict
Moka Pot for Greca
The Moka pot is a rewarding but demanding brewer that lives and dies by the quality of its grind.
To get the best results, aim for a **medium-fine texture similar to table salt**.
Avoid the temptation to tamp your grounds, use a consistent burr grinder, and don't be afraid to adjust your settings by a single click if the taste isn't quite right.
By treating the Moka pot as its own unique category—rather than just a "cheap espresso maker"—you can unlock a world of rich, chocolatey, and complex flavors that few other home brewing methods can match.
It requires patience and a bit of trial and error, but once you dial in that perfect grind, your morning routine will never be the same.